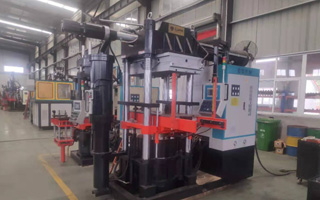
Hot product display
热销产品展示丰富的行业经验-广泛的市场影响力
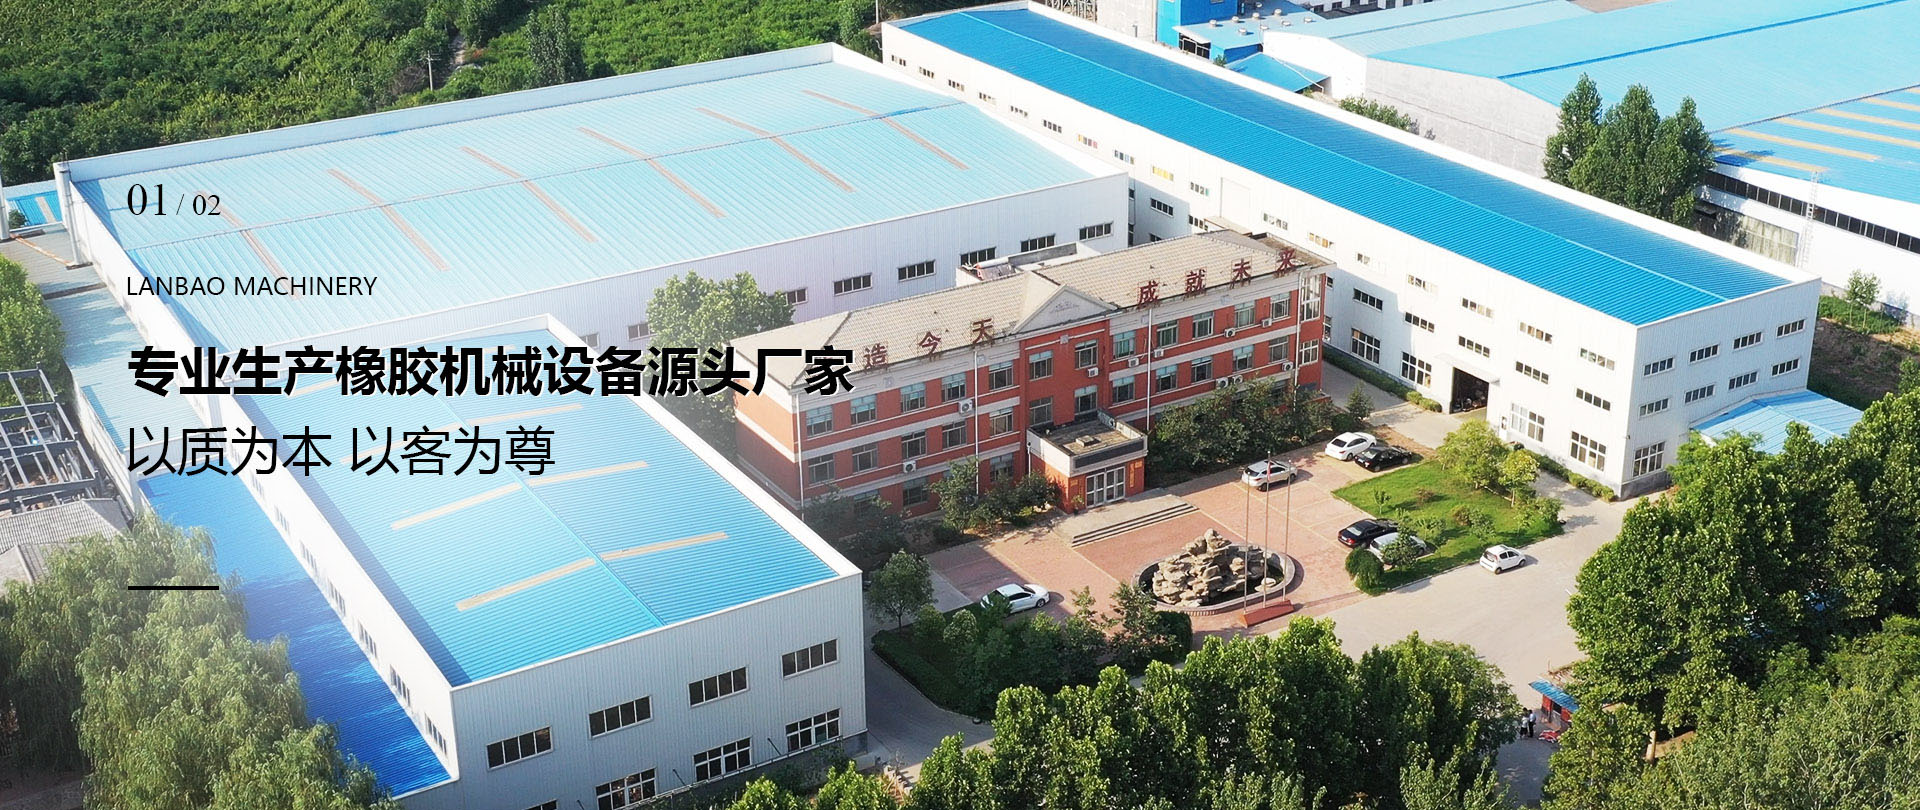
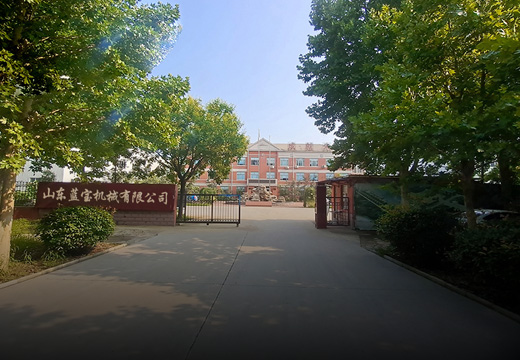
公司依托蓝宝机械研发中心(原北京蓝宝机械有限公司-始建于2006年8月),专业生产橡胶机械设备。公司汇集了先进的管理经验,精优的技术人才,不断引进吸收国外先进技术。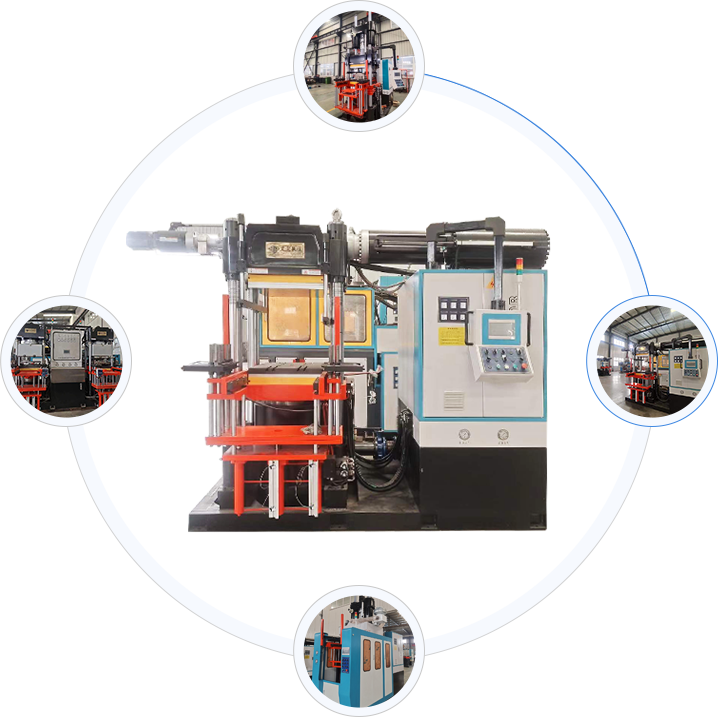
新利官方网站
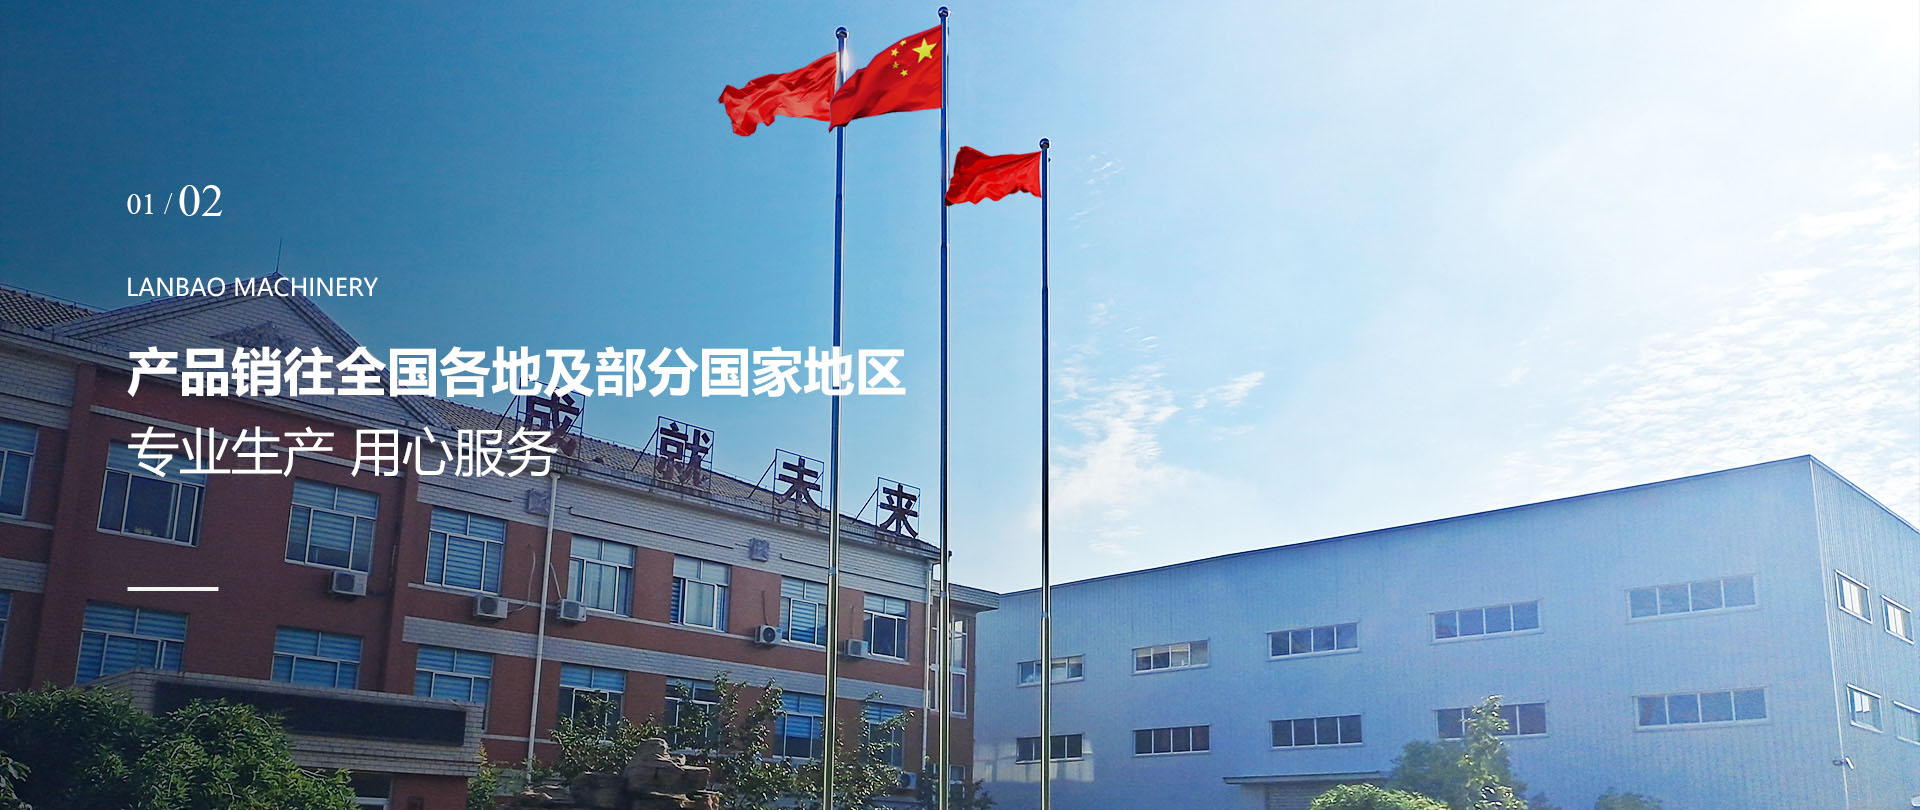
公司主要经营硫化机,橡胶注射成型机、注压成型机、液体硅胶注射成型机、液体硅胶泵料机、平板硫化机、抽真空平板硫化机等多种规格型号的先进橡胶成型机械设备。每年可生产200余台,产品销往全国各个经济发达地区及出口部分国家和地区。公司汇集了先进的管理经验,精优的技术人才,不断引进吸收国外先进技术。不仅是从设计能力还是制造经验均处于国内领衔地位。欢迎各位新老客户前来洽谈合作 ...
-
公司始建于
-
公司员工上百人
-
公司占地面积
-
年产量高达
-
服务客户上千家


 服务咨询热线:
0534-5438666
地址:山东省德州市齐河县华店镇创业园
- 朱经理:176-1579-7666 / 189-1186-3088
- 王经理:176-1579-7988 / 157-5313-7552
- 传真: 0534-5437775
- 座机:0534-5438666/5437776
- 地址:山东省德州市齐河县华店工业园